Guava Jam Recipe: A Sweet & Tropical Spread You’ll Love
Making jam at home is one of those comforting kitchen rituals that never gets old. There’s something magical about transforming fresh fruit into something spreadable, sweet, and spoon-licking good. Guava jam, in particular, holds a special place in tropical cuisines, especially in Latin American and Southeast Asian households. But you don’t need to live near a guava tree to enjoy this vibrant, aromatic spread.

Related: Easy Peach Jam Recipe with Just 3 Ingredients
Here are a few reasons why this guava jam recipe is a winner:
- It’s naturally rich and flavorful. Guavas have a sweet and slightly tangy taste with floral notes that shine when reduced into a jam.
- Healthier than store-bought. No artificial preservatives, thickeners, or unnecessary sugar.
- Quick and easy. You can whip this Guava jam recipe up in under an hour.
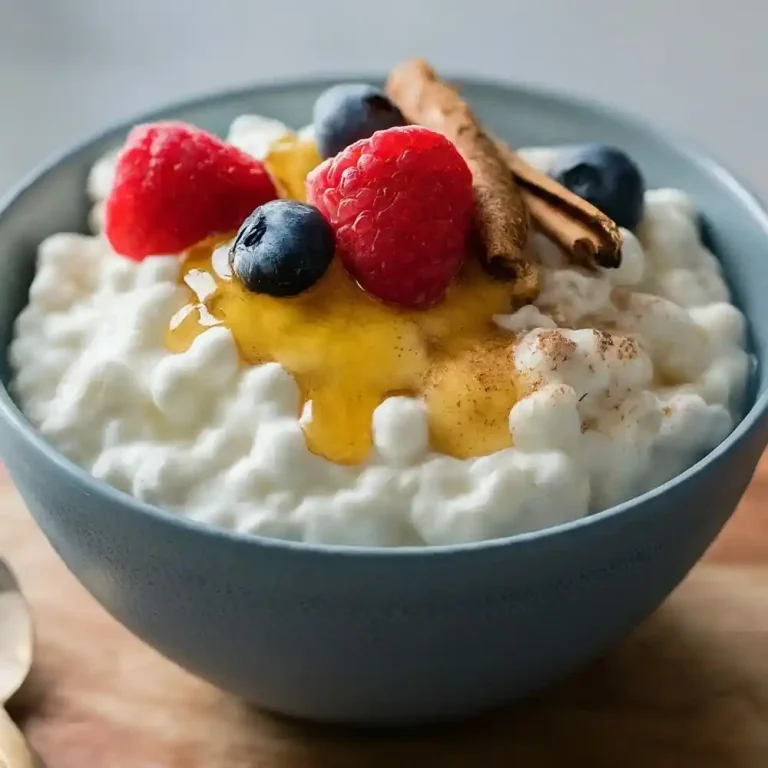
- Versatile. Spread it on toast, swirl it into yogurt, layer it in cakes, or use it as a glaze for meat.
Personally, this recipe reminds me of the summer visits to my grandmother’s house where guavas grew abundantly in the backyard. Every afternoon, she’d simmer a pot of ripe fruit, and that fragrant, tropical aroma would fill the house. Her guava jam was legendary in our family.
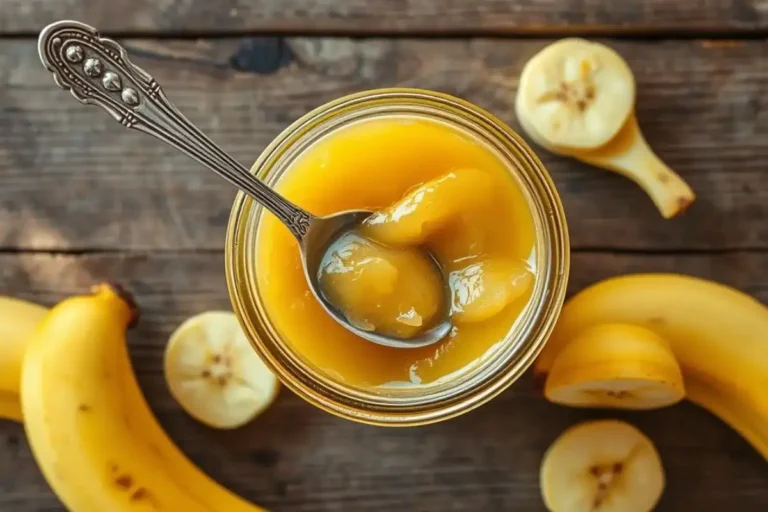
Homemade Guava Jam Recipe
Making guava jam from scratch doesn’t require fancy ingredients or tools. In fact, you probably have most of these items already.
Guava Jam Ingredients
| Ingredient | Quantity |
|---|---|
| Fresh ripe guavas | 2 lbs (about 6-8) |
| Granulated sugar | 1 to 1½ cups |
| Lemon juice (fresh) | 2 tbsp |
| Water | 1 cup |
| Optional: pectin | 1 tbsp (if needed) |
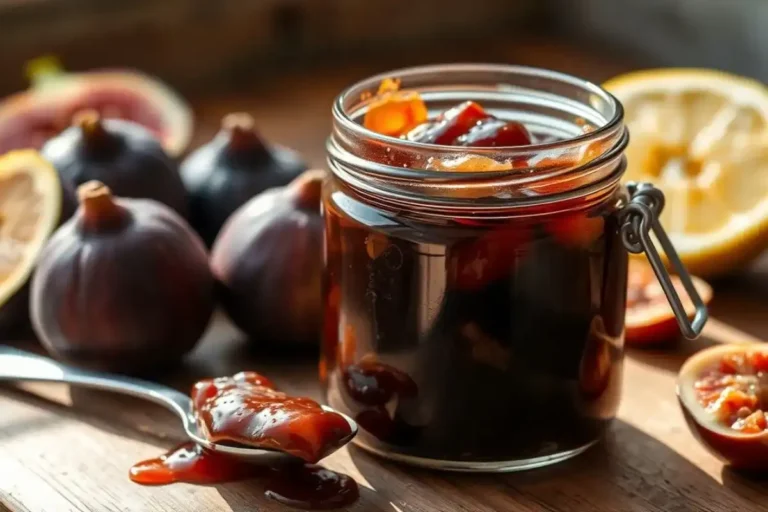
Related: Old-Fashioned Fig Jam Recipe – Just Like Grandma Recipe
Note: If your guavas are a little underripe or dry, you may need a little more water or sugar to balance the flavors.
Equipment Needed
| Tool | Purpose |
| Saucepan | For cooking the jam |
| Fine mesh strainer | To remove seeds (optional) |
| Wooden spoon/spatula | Stirring during simmering |
| Sterilized mason jars | For canning/storage |
| Thermometer (optional) | For checking setting temperature |
How to Make Guava Jam at Home (Step-by-Step Guide)
Homemade guava jam may sound fancy, but the process is straightforward. Follow these simple steps to create your own jar of tropical sweetness.
Step-by-Step Instructions
- Prep the guavas.
- Wash and peel the guavas if desired (some keep the peel for extra flavor).
- Chop them into small chunks and discard seeds if you prefer a smoother jam.
- Cook the fruit.
- Place chopped guavas in a saucepan with one cup of water.
- Bring to a boil, then lower the heat and simmer for 15-20 minutes until softened.
- Blend and strain (optional).
- Blend the mixture using either an immersion blender or a standard blender.
- Strain through a fine mesh sieve if you want a seedless, smooth consistency.
- Add sugar and lemon juice.
- Return the strained puree to the pot.
- Stir in the sugar and lemon juice.
- Simmer over medium-low heat until the jam thickens (20-30 minutes).
- Check the setting point.
- Use a kitchen thermometer (220°F is the setting point for jam).
- Alternatively, use the cold plate method: place a drop of jam on a cold plate and push with your finger. If it wrinkles, it’s ready.
- Jar and cool.
- Pour the hot jam into sterilized jars.
- Seal and turn upside down for 5 minutes to ensure vacuum sealing.
- Allow it to cool to room temperature before placing it in the fridge or storing it.

Related: Tennessee Jam Cake Recipe with Caramel Icing
Tips, Variations & Storage Suggestions
Even a simple recipe like guava jam can be customized to fit your flavor preferences.
Pro Tips for Perfect Guava Jam
- Use fully ripe, fragrant guavas for the best taste and natural sweetness.
- Avoid aluminum cookware as it can react with the fruit acids.
- Stir frequently to prevent sticking or burning.
Flavor Variations to Try
- Spiced Guava Jam: Add a cinnamon stick or vanilla bean during cooking.
- Tropical Fusion: Combine guava with pineapple, mango, or passionfruit.
- Sweet Heat: Add a small chili pepper for a spicy twist.
Storage and Shelf Life
- Keep unopened jars in a cool, dark spot for up to 12 months.
- Once opened, refrigerate and use within 2-3 weeks.
- You can freeze guava jam in airtight containers for up to a year.
Guava Jam Nutrition Facts
Here’s a breakdown of the approximate nutrition per tablespoon:
| Nutrient | Amount |
| Calories | 40 kcal |
| Carbohydrates | 10 g |
| Sugars | 9 g |
| Fiber | 0.5 g |
| Vitamin C | 6% DV |
| Fat | 0 g |
This jam is low in fat and a decent source of Vitamin C thanks to the guavas. Just remember that it’s still high in sugar, so enjoy it in moderation.
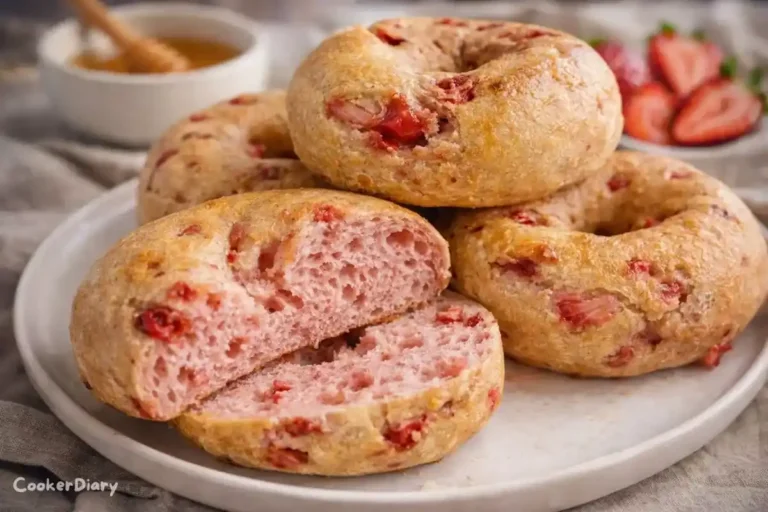
Related: Strawberry Cream Dessert Cups Everyone Will Love
FAQs About Guava Jam Recipe
Can I make guava jam without pectin?
Yes, you can. Guavas are naturally high in pectin, especially when they’re slightly underripe. This means adding commercial pectin isn’t necessary to get a good set. However, if you use very ripe guavas, the natural pectin level drops. In that case, adding a tablespoon of lemon juice helps the jam thicken. Lemon juice adds both acidity and natural pectin support, which encourages the jam to gel properly.
Moreover, cooking the fruit longer at a steady boil helps the mixture thicken naturally. Just be careful not to overcook it, or the flavor may turn bitter. Therefore, pay attention to both the texture and aroma during cooking.
How do I know when my guava jam is ready?
There are two reliable ways to test doneness. First, use a candy or jam thermometer. Once the mixture hits 220°F (104°C), it’s at the jam setting point. This is the temperature where the sugars and pectin interact to create that perfect jam consistency.
Second, try the cold plate method. Place a small plate in the freezer before you start cooking. When the jam looks thick, spoon a small amount onto the cold plate. Wait 30 seconds, then push the guava jam with your finger. If the surface wrinkles, it’s done. If not, keep cooking and test again in a few minutes.
These tests help ensure your jam sets properly without guesswork.
Can I use frozen guava to make a guava jam?
Yes, frozen guava works well. In fact, it’s a great option if fresh guava is out of season. Frozen fruit tends to release more liquid when thawed. So, you may need to simmer the mixture a bit longer to evaporate the extra moisture.
Also, make sure to fully thaw the guava before using. This helps the fruit break down evenly during cooking. In addition, you might want to reduce any added water slightly, since frozen guava has a higher water content.
Using frozen fruit is a convenient way to enjoy guava jam year-round.
What’s the difference between guava jam and guava jelly?
The main difference lies in texture and processing. Guava jam uses the mashed pulp of the fruit. This gives it a thick, textured feel with bits of fruit throughout. It’s rich, fragrant, and slightly chunky—perfect for spreading on toast or biscuits.
Guava jelly, on the other hand, is made using only the strained juice of the fruit. It’s smooth, clear, and often brighter in color. Making jelly usually takes more time because you need to filter out all solids. However, the result is a glossy, spoonable spread ideal for glazes or layering in desserts.
Both are delicious, but they serve slightly different purposes in the kitchen. So, your choice depends on the texture you prefer and how you plan to use it.
A Taste of Sunshine in Every Spoonful
Whether you grew up with guava trees in your backyard or you’re just discovering this tropical gem, making guava jam at home is a delightful way to preserve and celebrate its flavor. With a handful of ingredients and a little love, you can create a vibrant, sweet spread that elevates your breakfasts, desserts, and even savory dishes.
There’s a special kind of joy in popping open a jar of homemade jam, knowing it came from your own hands. It connects you to your food, your roots, and the rhythms of slow, intentional cooking.
So go ahead—grab some guavas, fire up the stove, and let the tropical aroma of simmering jam fill your kitchen.
Disclaimer: This recipe and its nutrition details are for educational use only and do not constitute medical advice. Nutritional values are approximate and may vary depending on ingredients and preparation methods. This article may include affiliate links. As an Amazon Associate, CookerDiary earns from qualifying purchases.