Fig Jelly Recipe with Fresh Figs
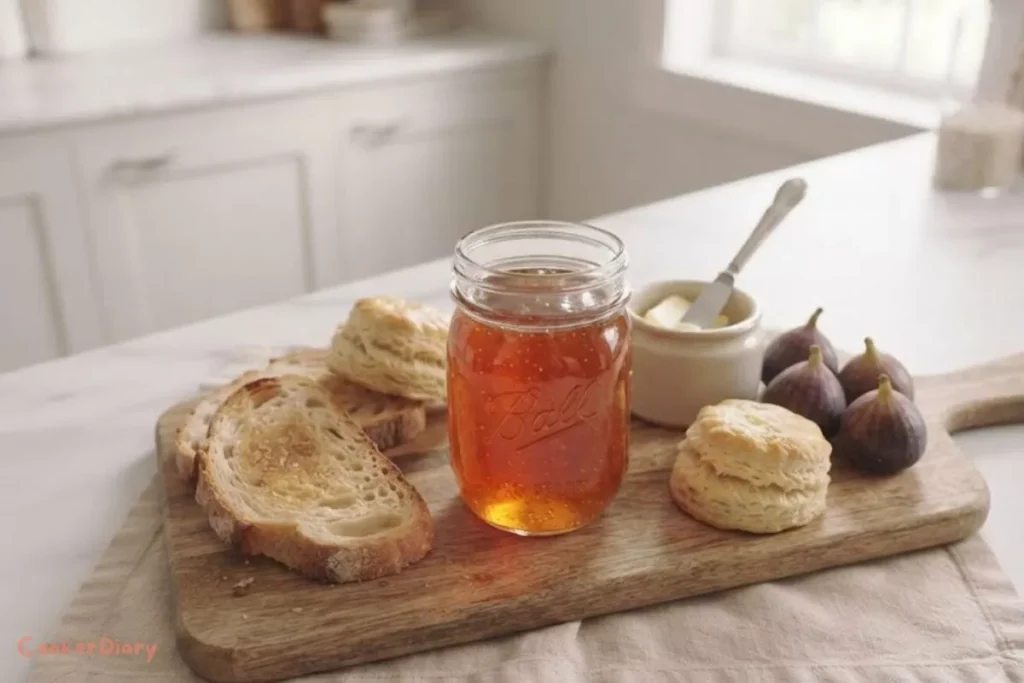
Fig Jelly Recipe lovers know there’s nothing quite like opening a jar of homemade jelly made from ripe, sweet figs. Smooth, glossy, and bursting with natural fruit flavor, this classic preserve transforms fresh seasonal figs into a delicious spread you’ll enjoy all year long.
Whether you’re harvesting figs from your backyard tree or bringing home a basket from the farmers market, this easy recipe is one of the best ways to preserve their incredible flavor. Even better, it requires only a handful of pantry staples and produces beautiful jars that make thoughtful homemade gifts.
Unlike fig jam, which contains pieces of fruit, fig jelly is perfectly smooth and crystal clear. As a result, it’s ideal for spreading on toast, biscuits, croissants, muffins, or pairing with soft cheeses on a charcuterie board.
Why This Fig Jelly Recipe Works
Making homemade jelly may seem intimidating at first. However, this recipe simplifies every step while delivering reliable results.
Here’s why you’ll love this recipe:
- Made with fresh ripe figs
- Beautiful clear jelly with vibrant flavor
- Easy enough for beginners
- Perfect balance of sweetness and acidity
- Uses simple pantry ingredients
- Excellent for water bath canning
- Great for holiday gifts
- Stores well for months
- Naturally versatile for breakfast and desserts
- Foolproof method with helpful tips
In addition, fresh lemon juice helps the jelly set properly while enhancing the natural sweetness of the figs. Therefore, every spoonful tastes bright, balanced, and incredibly fresh.
What Makes Fig Jelly Different from Fig Jam?

Although the names are often used interchangeably, fig jelly and fig jam are actually quite different.
Fig jam is made by cooking crushed figs until thick. Because the fruit remains in the mixture, jam has a rustic texture with tiny seeds and pieces of fruit.
Fig jelly, on the other hand, begins with fresh fig juice. After cooking the fruit, the pulp is strained away completely. The juice is then cooked with sugar and pectin until it forms a smooth, transparent jelly.
As a result, fig jelly has an elegant appearance and silky texture that spreads beautifully.
Many people prefer jelly for breakfast because it glides easily across toast and biscuits. Meanwhile, jam works wonderfully as a baking ingredient or dessert filling.
No matter which version you choose, both are excellent ways to preserve fresh figs during harvest season.
Tips for Choosing the Best Figs
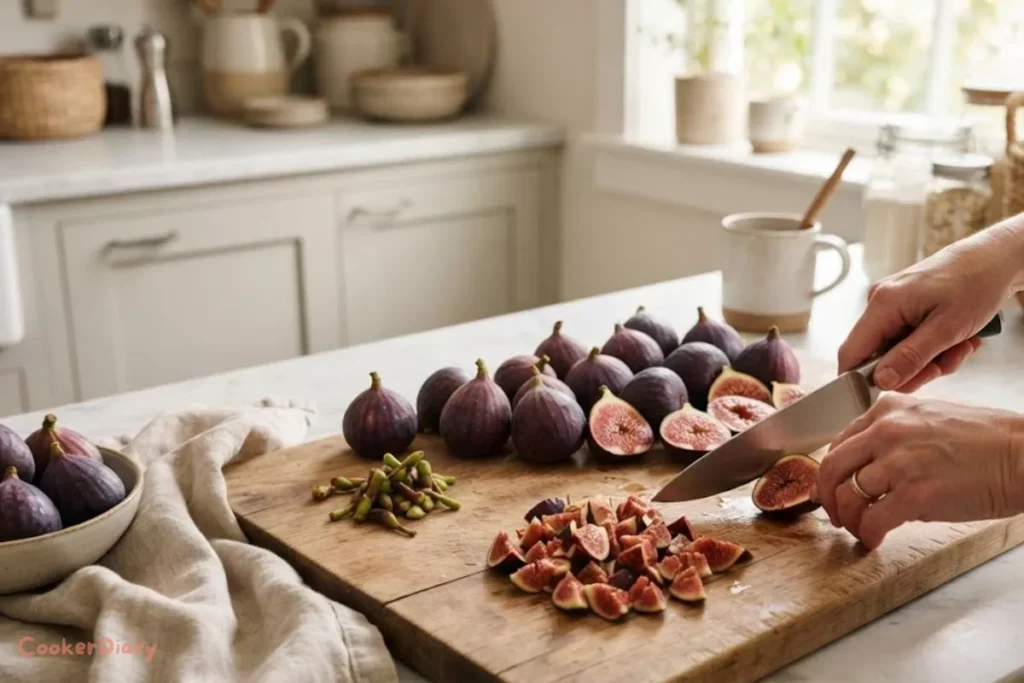
The quality of your jelly begins with the fruit.
Look for figs that are:
- Fully ripe
- Soft but not mushy
- Deeply colored
- Naturally fragrant
- Free from mold
- Free from bruises
- Slightly yielding when gently squeezed
Avoid underripe figs because they contain less natural sweetness and flavor.
If possible, make jelly the same day you harvest or purchase the fruit. Fresh figs deteriorate quickly, and using them immediately produces the brightest flavor.
Popular fig varieties include:
Fortunately, nearly every variety works beautifully in this recipe.
Common Mistakes to Avoid When Making Fig Jelly
- Don’t overcook the jelly: Cooking the jelly for too long can make it thick, rubbery, or overly firm instead of smooth and spreadable.
- Measure ingredients carefully: Jelly needs the correct balance of fig juice, sugar, lemon juice, and pectin to set properly.
- Never skip the lemon juice: Lemon juice adds brightness to the flavor and helps the jelly gel correctly.
- Avoid squeezing the jelly bag: Pressing or squeezing the bag forces pulp into the juice, which can make the jelly cloudy. Let the juice drain naturally for the clearest results.
- Use fresh pectin: Old or expired pectin may lose its setting power, causing the jelly to remain runny.
Following these simple tips will help you make a clear, flavorful, and perfectly set homemade fig jelly every time.
Serving Ideas for Fig Jelly Recipe
One jar of homemade fig jelly can be enjoyed in countless ways.
Try serving it with:
- Warm buttered toast
- English muffins
- Homemade biscuits
- Croissants
- Pancakes
- Waffles
- Greek yogurt
- Oatmeal
- Peanut butter sandwiches
- Brie cheese
- Goat cheese
- Charcuterie boards
- Turkey sandwiches
- Thumbprint cookies
It also makes a wonderful edible holiday gift when packaged in decorative jars.
Fig Jelly Recipe
To make this fig jelly recipe, you’ll need some basic canning equipment:
- Canning jars (Mason jars – 8 oz or 16 oz)
- Stainless steel saucepan
- Potato masher or food processor
- Fine mesh strainer or jelly bag
- Canning funnel, ladle, jar lifter
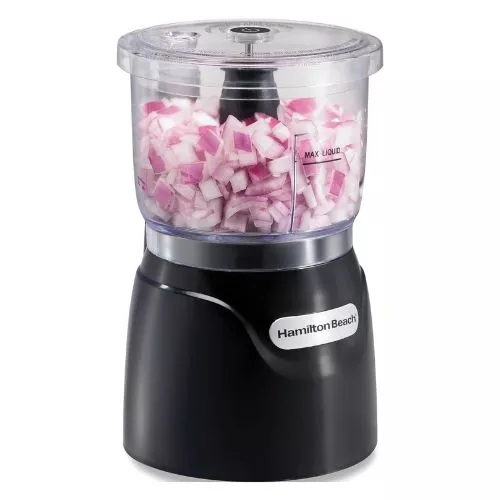
Preparing recipes like homemade fig jelly is even easier with the Hamilton Beach Electric Vegetable Chopper & Mini Food Processor. Its 3-cup capacity and 350-watt motor quickly chop fresh figs, mince ingredients, and create smooth purees in seconds, helping you save time in the kitchen while ensuring consistent results.
*As an Amazon Associate, I earn from qualifying purchases at no extra cost to you.
Recipe Ingredients
| Amount | Unit | Name | Notes |
|---|---|---|---|
| 4 | pounds | Fresh ripe figs | Washed and stems removed |
| 4 | cups | Water | For cooking figs |
| 5 | cups | Granulated sugar | Adjust slightly if desired |
| 2 | tablespoons | Fresh lemon juice | Helps jelly set |
| 1 | package (1.75 oz) | Powdered fruit pectin | Use fresh pectin |
Ingredients Tips & Substitutes
- Use only ripe figs for the best natural sweetness.
- You can replace lemon juice with lime juice to add a tangier flavor.
- Include a small amount of cinnamon or vanilla extract to enhance the flavor complexity.
- If your figs are underripe, you may need to add a small amount of pectin.
Recipe Instructions
Step 1 – Prepare the Fresh Figs
Wash the figs thoroughly under cool running water. Remove the stems and any damaged spots, then roughly chop the fruit into small pieces.
Tip: Use fully ripe figs for the sweetest flavor and the highest juice yield.
Step 2 – Cook the Figs
Place the chopped figs and water into a large stockpot over medium-high heat.
Bring the mixture to a gentle boil, then reduce the heat and simmer for about 20 minutes, stirring occasionally.
As the figs soften, gently mash them with a potato masher to help release their juices.
Tip: Avoid vigorous boiling, which may darken the jelly and affect its fresh flavor.
Step 3 – Strain the Fig Juice
Pour the cooked fig mixture into a jelly bag or several layers of cheesecloth placed over a large bowl.
Allow the juice to drain naturally for 30 minutes to 1 hour.
Do not squeeze the bag.
Tip: Let gravity do the work to produce beautifully clear jelly.
Step 4 – Measure the Juice
Measure exactly 4 cups of strained fig juice.
If necessary, add a small amount of water to reach the required amount.
Discard or compost the remaining pulp.
Tip: Accurate measurements are essential for the jelly to set correctly.
Step 5 – Add Pectin
Pour the measured fig juice into a large saucepan.
Stir in the powdered fruit pectin until completely dissolved.
Bring the mixture to a full rolling boil over high heat while stirring frequently.
Tip: A rolling boil is one that continues even while stirring.
Step 6 – Add Sugar and Lemon Juice
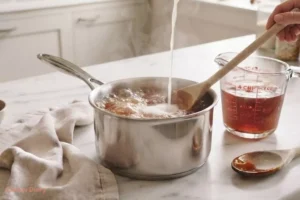
Carefully stir in the granulated sugar and fresh lemon juice.
Continue stirring until the sugar has completely dissolved.
Return the mixture to a full rolling boil and cook for exactly 1 minute, stirring constantly.
Tip: Timing is important. Overcooking may result in overly firm jelly.
Step 7 – Test the Jelly
Remove the saucepan from the heat.
If foam forms on the surface, skim it off using a spoon.
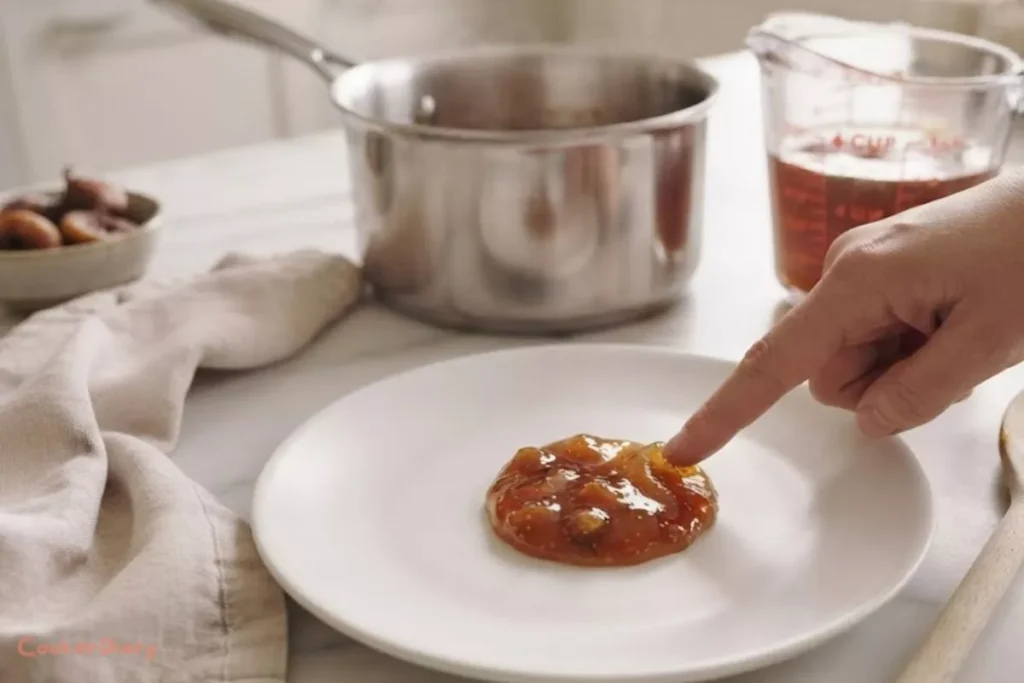
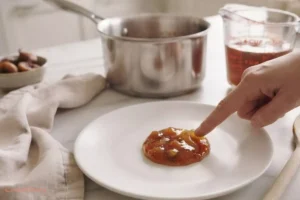
To test the consistency, place a small spoonful of jelly onto a chilled plate. Let it sit for one minute, then gently push it with your finger.
If it wrinkles slightly, the jelly is ready.
Tip: If it’s still too runny, boil for another minute and test again.
Step 8 – Fill the Jars
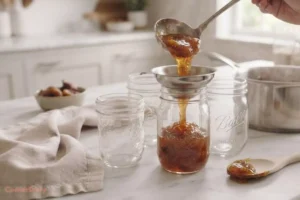
Using a funnel, carefully ladle the hot jelly into sterilized jars, leaving about ¼ inch of headspace.
Wipe the jar rims clean before placing the lids and tightening the rings until fingertip tight.
Tip: Clean jar rims ensure a proper seal.
Step 9 – Process the Jars
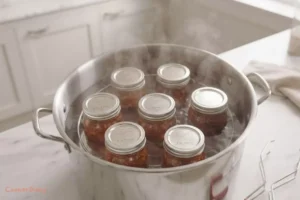
Place the filled jars into a boiling water bath canner.
Process for 10 minutes, adjusting for altitude if necessary.
Carefully remove the jars and place them on a towel to cool undisturbed for 12 to 24 hours.
Tip: You should hear a satisfying “pop” as each jar seals.
Step 10 – Store and Enjoy
After cooling, check that every lid has sealed properly.
Store sealed jars in a cool, dark pantry for up to 1 year.
Once opened, refrigerate and enjoy within 3 to 4 weeks.
Spread your homemade fig jelly on toast, biscuits, English muffins, croissants, or serve it alongside soft cheeses and crackers.
Chef’s Tips & Variations
- Use different fig varieties (e.g., Black Mission, Brown Turkey) for unique flavors.
- Add balsamic vinegar for a sophisticated twist.
- Mix in other fruits like pears or apples for blended fruit jelly.
- Omit the straining step if you prefer a thicker, chunkier jam texture.
- Serve alongside goat cheese or brie to elevate your charcuterie board.
Best Jam Recipes:
- Old-Fashioned Fig Jam Recipe – Just Like Grandma Recipe
- Easy Peach Jam Recipe with Just 3 Ingredients
- Guava Jam Recipe: A Sweet & Tropical Spread You’ll Love
- Easy Banana Jam Recipe You Can Make at Home
- Watermelon Jam Recipe with Just 4 Ingredients
Nutrition Information (Per Tablespoon)
| Calories | Sugar | Carbs | Fiber | Fat | Protein |
| 45 | 10g | 12g | 1g | 0g | 0g |
Nutritional values are estimates and may vary depending on specific ingredients used.
FAQs on Fig Jelly Recipe
The main difference lies in texture and fruit content. Fig jam contains crushed or chopped fruit pieces, seeds, and pulp, which gives it a chunky and spreadable consistency. In contrast, fig jelly is made by straining the fruit mixture to remove solids, resulting in a clear, smooth spread without bits of fruit. This recipe can be adapted to make either jam or jelly, depending on whether you strain the cooked fruit or leave it as is. Therefore, if you prefer a smoother, more refined spread, go for jelly. If you like some texture and fruit bits, choose jam instead.
When properly sealed using the water bath canning method, homemade fig jelly can last up to 12 months in a cool, dark pantry. Once opened, store the jar in the refrigerator and enjoy it within 3 to 4 weeks for the best flavor and quality.
Yes, but it requires more cooking time. Fresh figs are naturally low in pectin, so the jelly may take longer to thicken and the final texture may be softer. Using commercial fruit pectin provides more reliable and consistent results, especially for beginners.
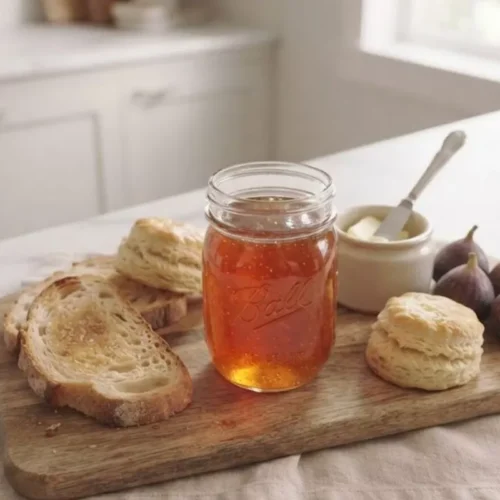
Fig Jelly Recipe
Equipment
- 1 Large stockpot For cooking figs
- 1 Potato masher Mash softened figs
- 1 Large saucepan Cook jelly
- 6 Half-pint canning jars Sterilized
Ingredients
- 4 pounds Fresh ripe figs Washed and stems removed
- 4 cups Water For cooking figs
- 5 cups Granulated sugar Adjust slightly if desired
- 2 tablespoons Fresh lemon juice Helps jelly set
- 1 package (1.75 oz) Powdered fruit pectin Use fresh pectin
Instructions
- Wash the figs, remove the stems, and roughly chop them.
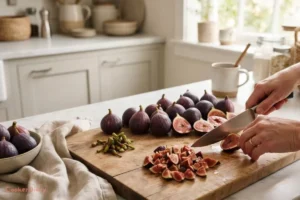
- Combine the chopped figs and water in a large pot. Bring to a gentle boil, then simmer for 20 minutes, stirring occasionally and lightly mashing the fruit.

- Pour the cooked figs into a jelly bag or cheesecloth-lined strainer. Let the juice drain naturally for 30 minutes to 1 hour without squeezing.
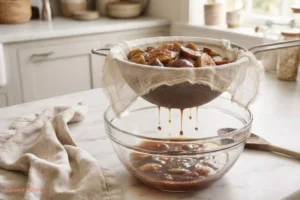
- Measure 4 cups of strained fig juice. Add a little water if needed to reach the full amount.
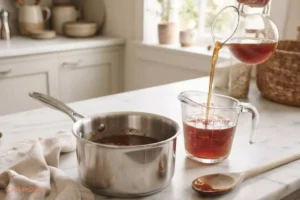
- Pour the fig juice into a saucepan, stir in the powdered pectin, and bring to a full rolling boil while stirring.
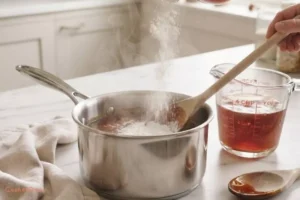
- Stir in the sugar and lemon juice until dissolved. Return to a rolling boil and cook for 1 minute, stirring constantly.
- Remove the pan from the heat and skim off any foam. Test the jelly on a chilled plate; if it wrinkles when pushed, it's ready.
- Ladle the hot jelly into sterilized jars, leaving ¼ inch of headspace. Wipe the rims clean and secure the lids.
- Process the jars in a boiling water bath for 10 minutes. Remove and let them cool undisturbed for 12 to 24 hours.
- Store sealed jars in a cool, dark place for up to 1 year. Refrigerate after opening and use within 3 to 4 weeks.

Video
Notes
- Use ripe, fragrant figs for the best flavor.
- Fresh lemon juice produces a brighter taste than bottled juice.
- Avoid doubling the recipe, as large batches may not set properly.
- Sterilize jars before filling to ensure safe storage.
- Always use new canning lids for the best seal.
- For a richer flavor, let the jelly rest for 1 to 2 weeks before opening the first jar.
Affiliate Disclaimer: This post may include affiliate links. As an Amazon Associate, CookerDiary earns from qualifying purchases at no additional cost to you.